Motivation
Ich habe Interesse, mich mal eingehender mit dem Raspberry Pi zu beschäftigen. Interessant sind internetgestütze Anwendungen mit Webinterface im eigenen LAN. Einen Apache aufsetzen und eine Webseite in PHP programmieren kann ich ja, mach ich @work auch. Dann kann man eine Anwendung auch mit einem Tablet steuerbar machen. Fertige Anwendungen dieser Art gibts ja auch genug zu erproben.
Pi-Brett
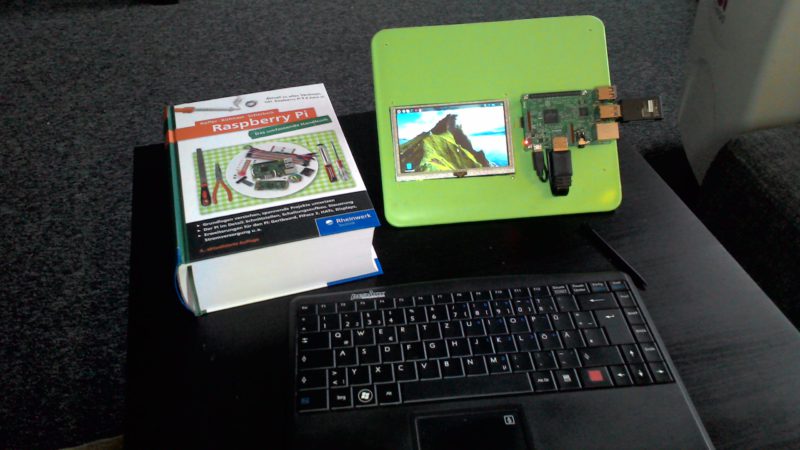
Das Pi-Brett soll eine kompakte stand-alone Programmier- und Entwicklungsbasis sein. Ohne dass alles in Einzelkomponenten rumfliegt und mit einem Kabelgewirr zusammengestöpselt ist. Trotzdem sollen sich ein ‘richtiger’ Monitor und eine ‘richtige’ Tastatur anschliessen lassen.
Enthalten sollen sein: Raspi 3 Mod. B, 5″ Touch-Display und 6Ah Powerbank als Akku. Ein Breadbord für Schaltungsentwicklung kommt hinzu. Alles auf ein Grundbrett montiert und offen. Dann sind alle Komponenten gut zu erreichen.
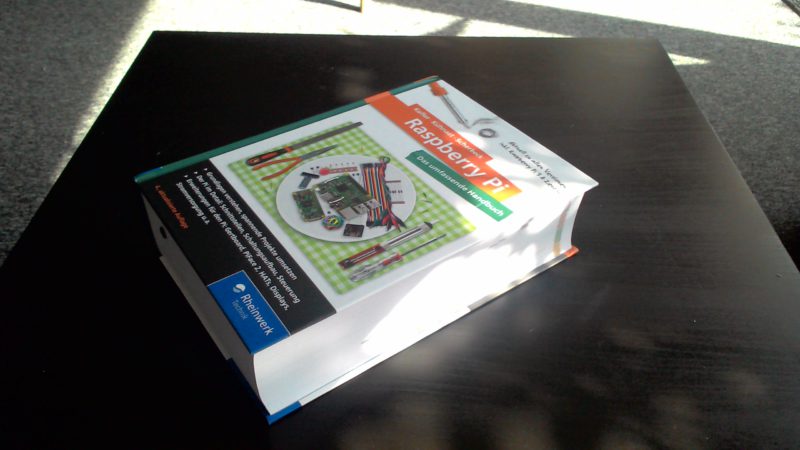
Hab mir auch ein umfassendes Handbuch zum Raspi bestellt, gute 1000 Seiten. Das sollte mal für den Einstieg reichen. Damit lassen sich bestimmt einige interessante Projekte umsetzen.
Das ganze ist ja eher eine Grundausstattung, wie sie in Schulen zum Einsatz käme. Ich hoffe aber, auch ein paar ‘erwachsene’ Anwendungen auf die Beine zu stellen.
Wenn ich eine Anwendung fertig hab und für würdig befinde, kommt sie auf ein eigenes Pi und wird fest installiert. Z.B. ein Musikstreamingserver. Eine Webcam. Eine Retro-Konsole (wobei ich auch damals nie diese Spiele gespielt habe). Eine Jukebox. Eine Kalender/Uhr/Wecker/Wetterstation mit Regenradar.
- Raspberry Pi 3 Modell B (1,2 GHz Quad-Core ARM cortex-a53, 1GB RAM, USB 2.0) EUR 35,99
- Makibes 5-Zoll-Resistive Touch Screen LCD (B) HDMI USB-Schnittstelle EUR 42,99
- SanDisk Ultra microSDHC 16GB, Class 10 Speicherkarte + SD-Adapter FFP EUR 9,49
- Powerbank 6000mAh, Coolreall Externer Akku Power Bank EUR 10,99
- KabelDirekt 0,25m HDMI Kabel EUR 6,99
- Raspberry Pi: Das umfassende Handbuch 4. Auflage Juni 2017 EUR 39,90
- Breadboard + GPIO T Type Expansion Board + 65pcs Jumper Cables wires + 40pin Rainbow Ribbon Cable EUR 13,00
- Neuftech 40x 20cm “female female” “male female” “male male” Steckbrücken EUR 6,69
- TeckNet X315 Ultra Slim Kabellose Mini Tastatur (QWERTZ, 2.4 GHz, 84 Tasten) Schwarz EUR 12,99
Das Display hat eine USB-Touchfunktion, belegt also nicht den I/O-Port des RPi. Das war mir wichtig. 5″ sind vielleicht etwas knapp, aber ich wollte ein kompaktes Gerät. Leider gab es in 5″ kein IPS-Display, erst in 7″, und dann gut 20 Euro teurer. Hier gibts ein User Manual: 5inch HDMI LCD (B) (Rev_2.1) User Manual
Die Powerbank hat einen Extra-Ladeanschluss, ich hoffe also gleichzeitig laden und entladen zu können. Es gibt sogar eine USV-Software-Lösung, die hier beschrieben ist: http://raspi-ups.appspot.com/de/
Als Grundbrett für den Aufbau habe ich mir ein Schneidbrett aus zähelastischem Kunststoff besorgt. Das Material ist günstig, robust und leicht zu bearbeiten.
Viel ist ja nicht dran, an dem Pi-Brett:
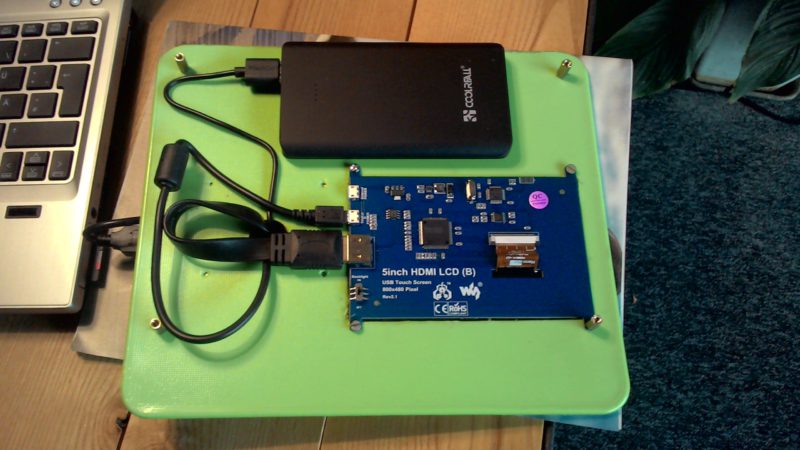
Hier die Rückseite. Das Display ist von hinten eingesetzt, so kommen auch die Kabel nach hinten. Die Powerbank ist einfach mit doppelseitigem Klebeband befestigt. Eine Bodenplatte fehlt noch.
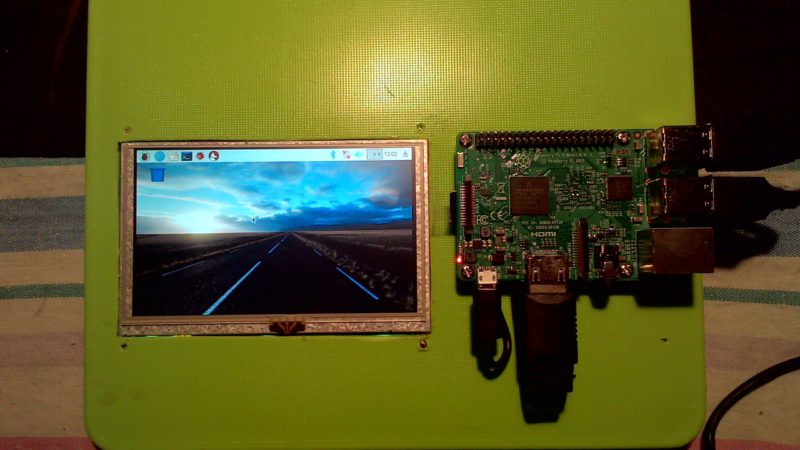
Das erste Lebenszeichen, nachdem ich Rasbian auf die SD-Karte installiert hatte. Alles geht, nur das Wifi nicht. Ich hatte nach dem Hinweis im dicken Pi-Buch die WLAN-Settings in eine Config-Datei geschrieben, damit es schon sofort die richtigen Einstellungen hat. Aber das hat wohl nicht funktioniert. Also habe ich die SD-Karte neu installiert, und ohne diese Config-Datei verwendet. Dann ging es, ich konnte die Einstellungen gleich am Dektop machen.
Den Touchscreen muss ich noch kalibrieren, wie es im User Manual beschrieben ist. Aber ich denke mal, eine angeschlossene Maus ist trotzdem hilfreich.
Die Kalibrierung hat zuletzt nicht so ganz so funktioniert wie beschrieben. Hier die Steps für Jessie:
1. sudo apt-get install -y xinput-calibrator
2. sudo apt-get install xserver-xorg-input-evdev
3. sudo cp -rf /usr/share/X11/xorg.conf.d/10-evdev.conf /usr/share/X11/xorg.conf.d/45-evdev.conf
4. sudo reboot
5. sudo DISPLAY=:0.0 xinput_calibrator or select Menu -> Preferences -> Calibrate Touchscreen
6. und jetzt kommts: Die Zeile Option “Calibration” “166 3858 200 4013” mit den richtigen Zahlen habe ich nicht in /etc/X11/xorg.conf.d/99-calibration.conf eingetragen und auch nicht in /usr/share/X11/xorg.conf.d/99-calibration.conf. Beide Dateien gab es nicht. Und wenn ich sie erstellt habe, bliebt das Raspi in der Konsole, kein GUI. xserver error.
Daher habe ich die Zeile in die zuvor erstellte /usr/share/X11/xorg.conf.d/45-evdev.conf eingetragen. Hier stehen catchall’s. Das hat funktioniert:
Section "InputClass"

        Identifier "evdev touchscreen catchall"

        MatchIsTouchscreen "on"

        MatchDevicePath "/dev/input/event*"

        Option "Calibration" "166 3858 200 4013" #hinzugefuegt

        Driver "evdev"

EndSection
Das ist dann natürlich one for all, aber ich wechsele meine Displays ja nicht per hot plugging 🙂
Jetzt kann ich aber praktisch schon los legen, mich am dicken Buch entlang hangeln, die Möglichkeiten kennenlernen, ein paar Projekte ausprobieren, eigene Ideen entwickeln. Es ist für mich ein neues Werkzeug mit neuen Möglichkeiten, dann entstehen auch neue Ideen.
“pi-buch.info – Das Blog zum Buch”
Das Buch habe ich mir gekauft, um möglichst viele Informationen zur Hardware und Programmierung gebündelt zu bekommen. Und dafür eignet sich das Buch auch gut. Erste Linux-Erfahrungen sollte man aber mitbringen, sonst wird der Einstieg vielleicht etwas holprig. Und wer einfach ein fertiges Projekt aufsetzen will braucht das Buch nicht dafür.
Unschön finde ich, dass nun keine CD mehr beiliegt, und man das eBook extra bezahlen soll, 5 Euro für Buchbesitzer. In der letzten Auflage war die CD noch dabei: 3. Auflage
Hier gibts auch noch Beispieldateien als ZIP zum Download.
Nicht so in der 4. Auflage: 4. Auflage
Das Buch ist sehr unhandlich, eine eBook-Alternative wäre sicher interessant. Den Nachkauf bezahlt man aber nicht nur mit 5 Euro, sondern auch mit seinen Daten. Da bin ich sparsam.
Bisher bin ich nur bei den ersten Kapiteln tiefer eingestiegen. Es wird alles sehr detailliert beschrieben, zu vielen Schritten gibt es Alternativen und Varianten. Da es aber gut strukturiert ist, findet man sich zurecht. Für ungeduldige Querleser ist das aber nicht optimal. Ich bin insgesamt zufrieden und gespannt auf mehr. Inhalt gibts ja genug auf über 1000 Seiten.
Hinweise zur Konfiguration des Raspi: elinux.org/RPiconfig
Die Seite ist auch insgesamt interessant: elinux.org

Gestern konnte ich das Pi-Brett mal unverkabelt am Sofa nutzen. Die Powerbank hielt einige Stunden durch, auch mit gucken von Youtube-Videos. Am Ende des Abends war der Akku noch nicht leer.
Ein nennenswertes Problem besteht: Wenn ich den Akku während des Betriebes am USB-Lader auflade, und dann den Ladestecker am Akku abziehe, stürzt das Raspi ab. Anscheinend bekommt es kurz keinen Strom. Das ist sehr blöd und dafür muss eine Lösung her. Evtl. eine USV-Lösung am Pi.
Die Touchfunktion am Display taugt nicht viel. Ich konnte es einigermaßen kalibrieren. Aber oft ist es einfach nicht möglich, die Funktionen der Mousebuttons kontrolliert durch antippen auszulösen. Menüs klappen auf und gleich wieder zu, manchmal wird dabei schon eine Option ausgewählt. Ohne Maus oder Touchpad am Keybord geht es nicht auf dem Desktop.
Youtube-Videos laufen einigermaßen gut. Das Display ist aber zu klein, um die Youtube-Webseite vernünftig steuern zu können. Und der Ton ist am eingebauten Ausgang schlecht, rauscht und klingt oft verzerrt. Ich dachte, das hätte sich inzwischen mal verbessert.
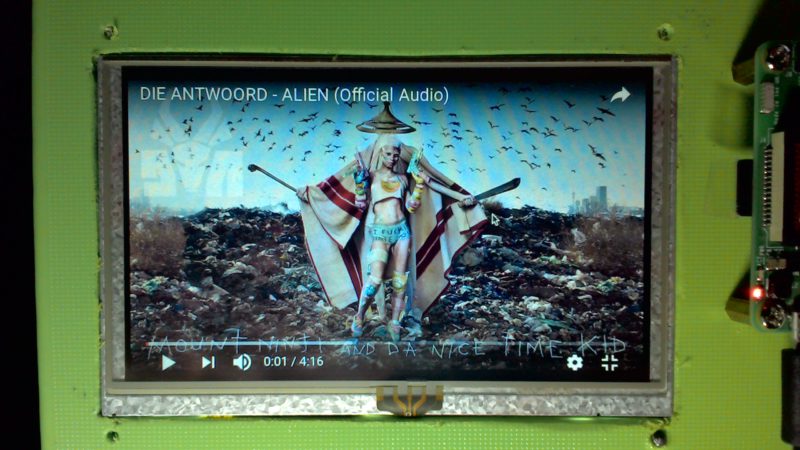
Aber solche Anwendungen auf dem Standart-Desktop sind ja auch nicht das Ziel, es zeigt nur die Möglichkeiten auf, die nach der Installation vorgegeben sind, – und deren Grenzen. Innerhalb eines Projektes muss dann halt ein spezieller Touch-Desktop her, mit einer für so kleine Displays optimierten Darstellung. Android macht das ja nicht anders, oder Kodi.
Demnächst lote ich noch die Möglichkeiten der Fernsteuerung des Raspis von einem PC aus. Z.B. durch SSH, VPN oder per Remote Desktop. Auch der Zugriff auf lokale Netzwerkressourcen soll möglich werden. Ich habe da ein NAS stehen.